Creating Packages with Composer
Using Jamf’s Composer to Create Installer Packages
This article outlines manually creating .pkg files using the Composer application from Jamf.
![]() Composer Application Icon
Composer Application Icon
Helpful Resources
Application Interface Overview
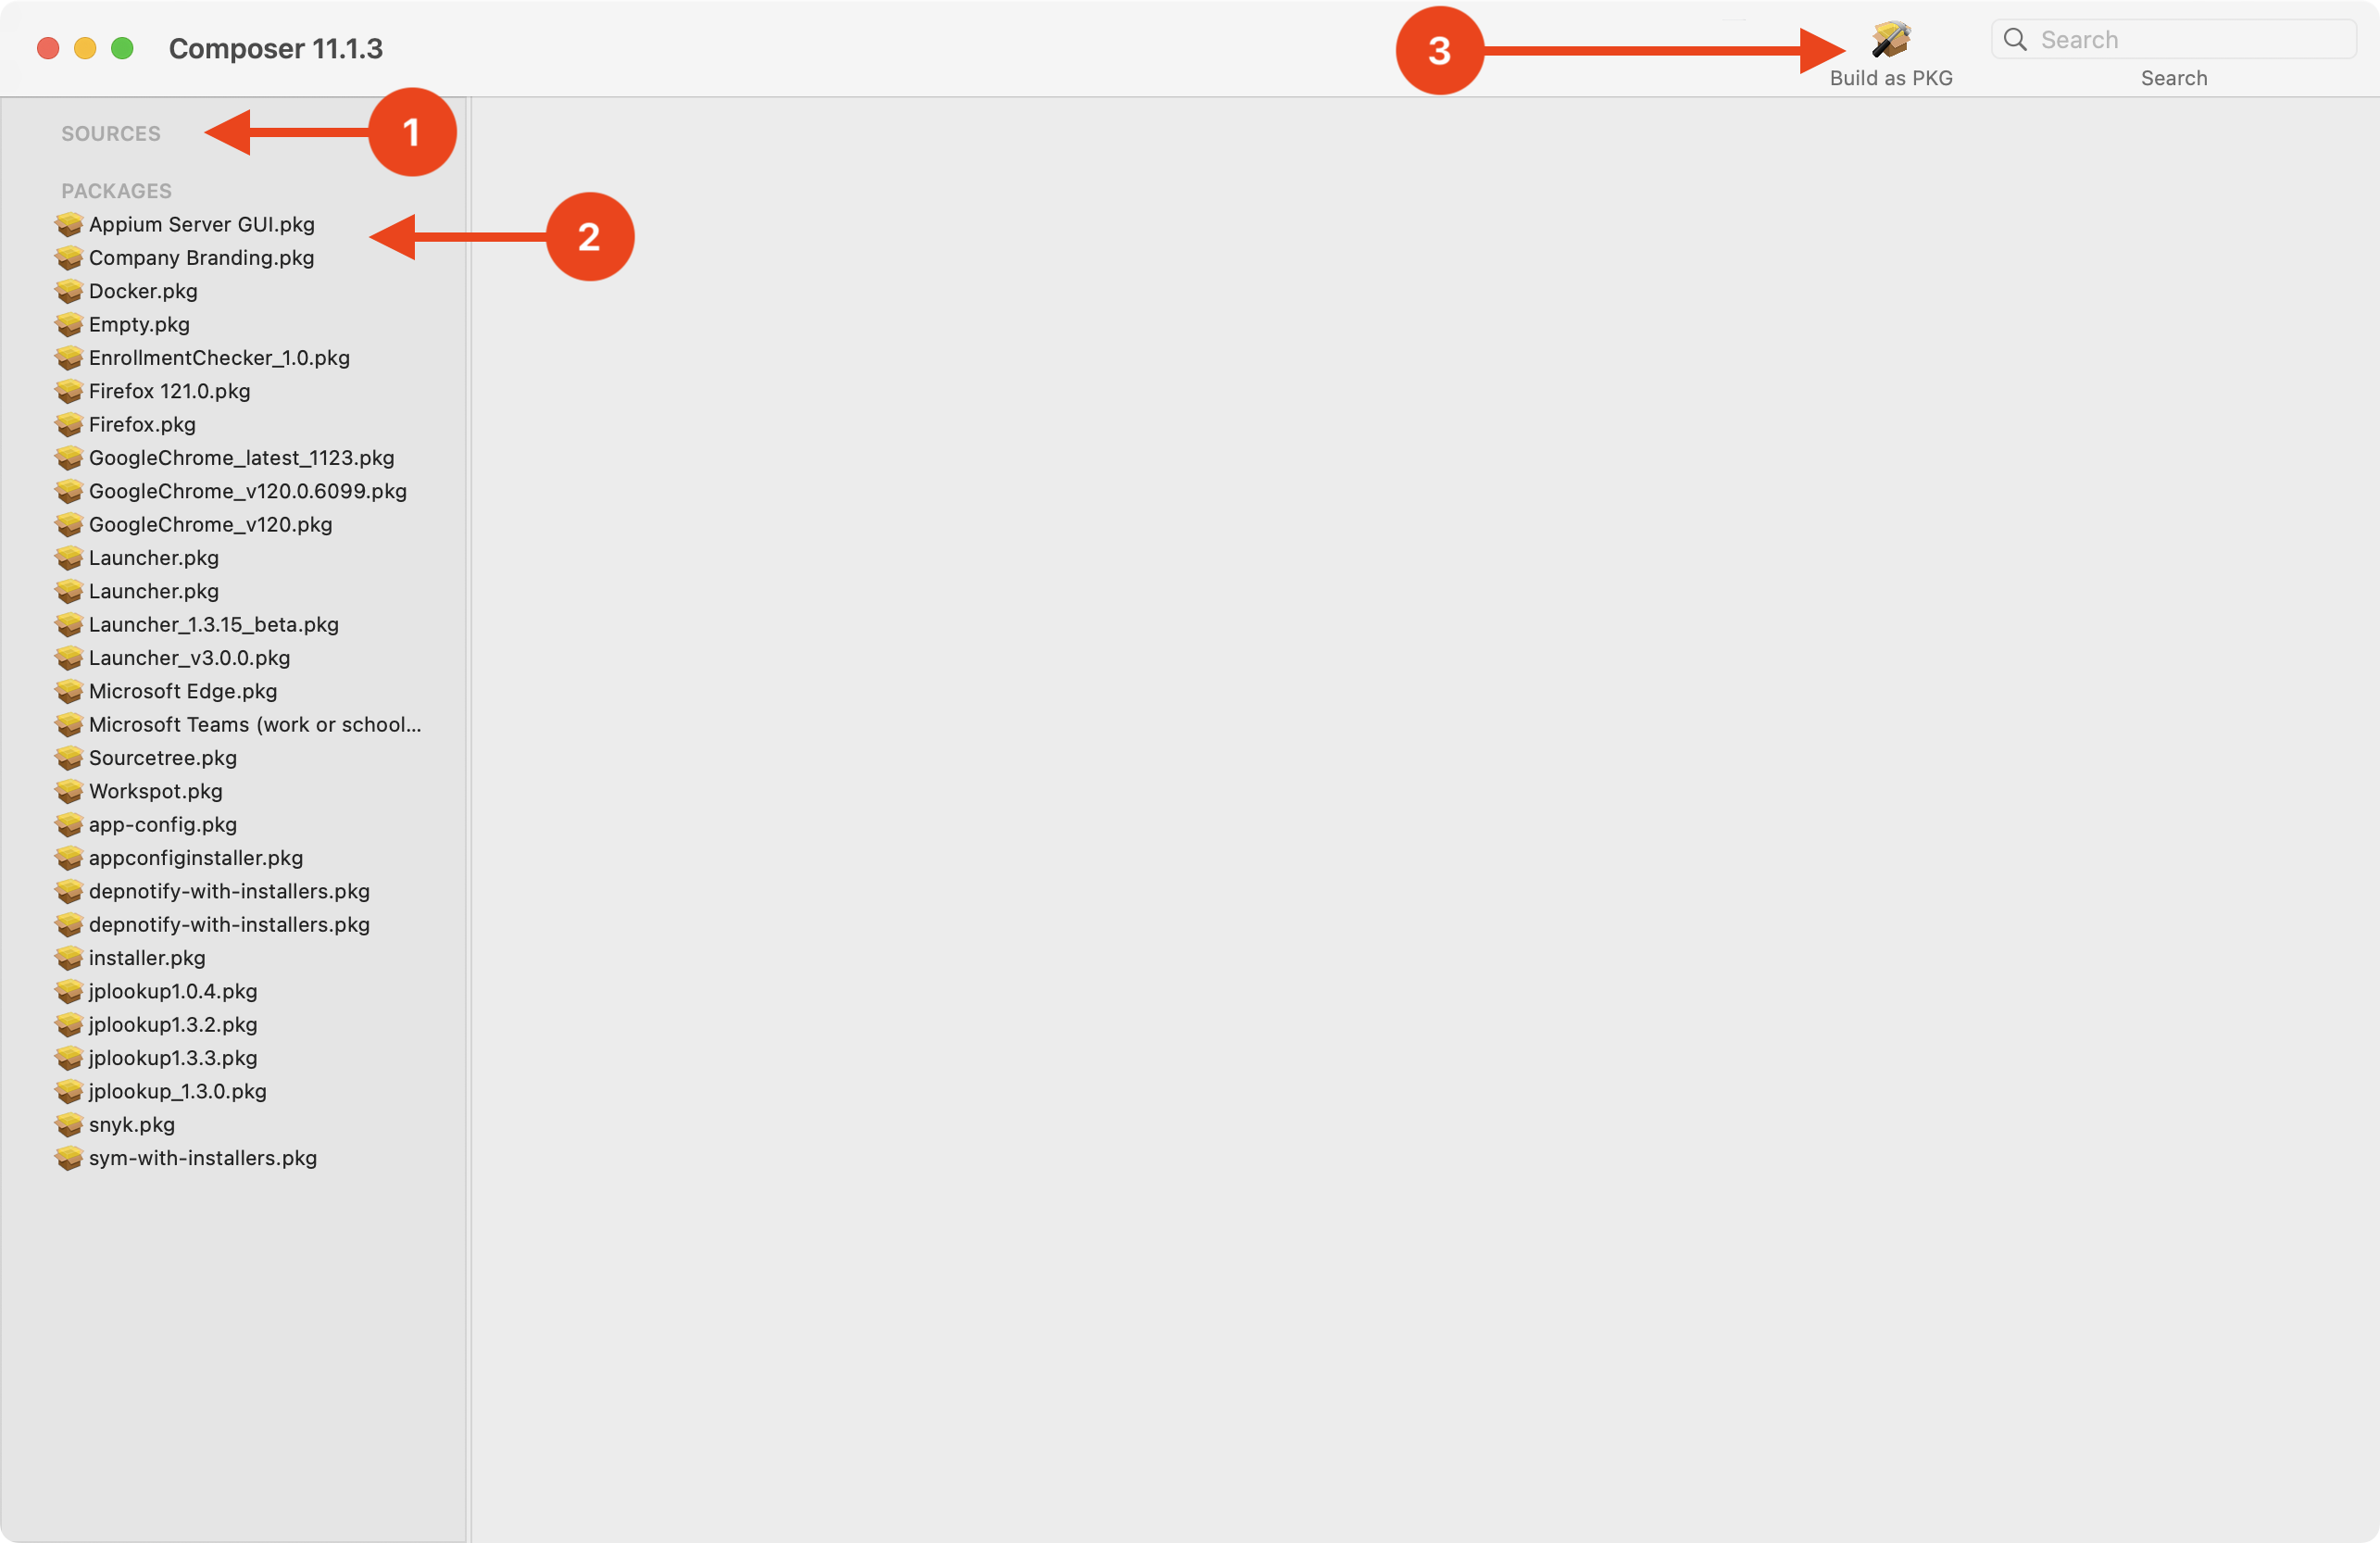 Figure 1.1 - Composer User Interface
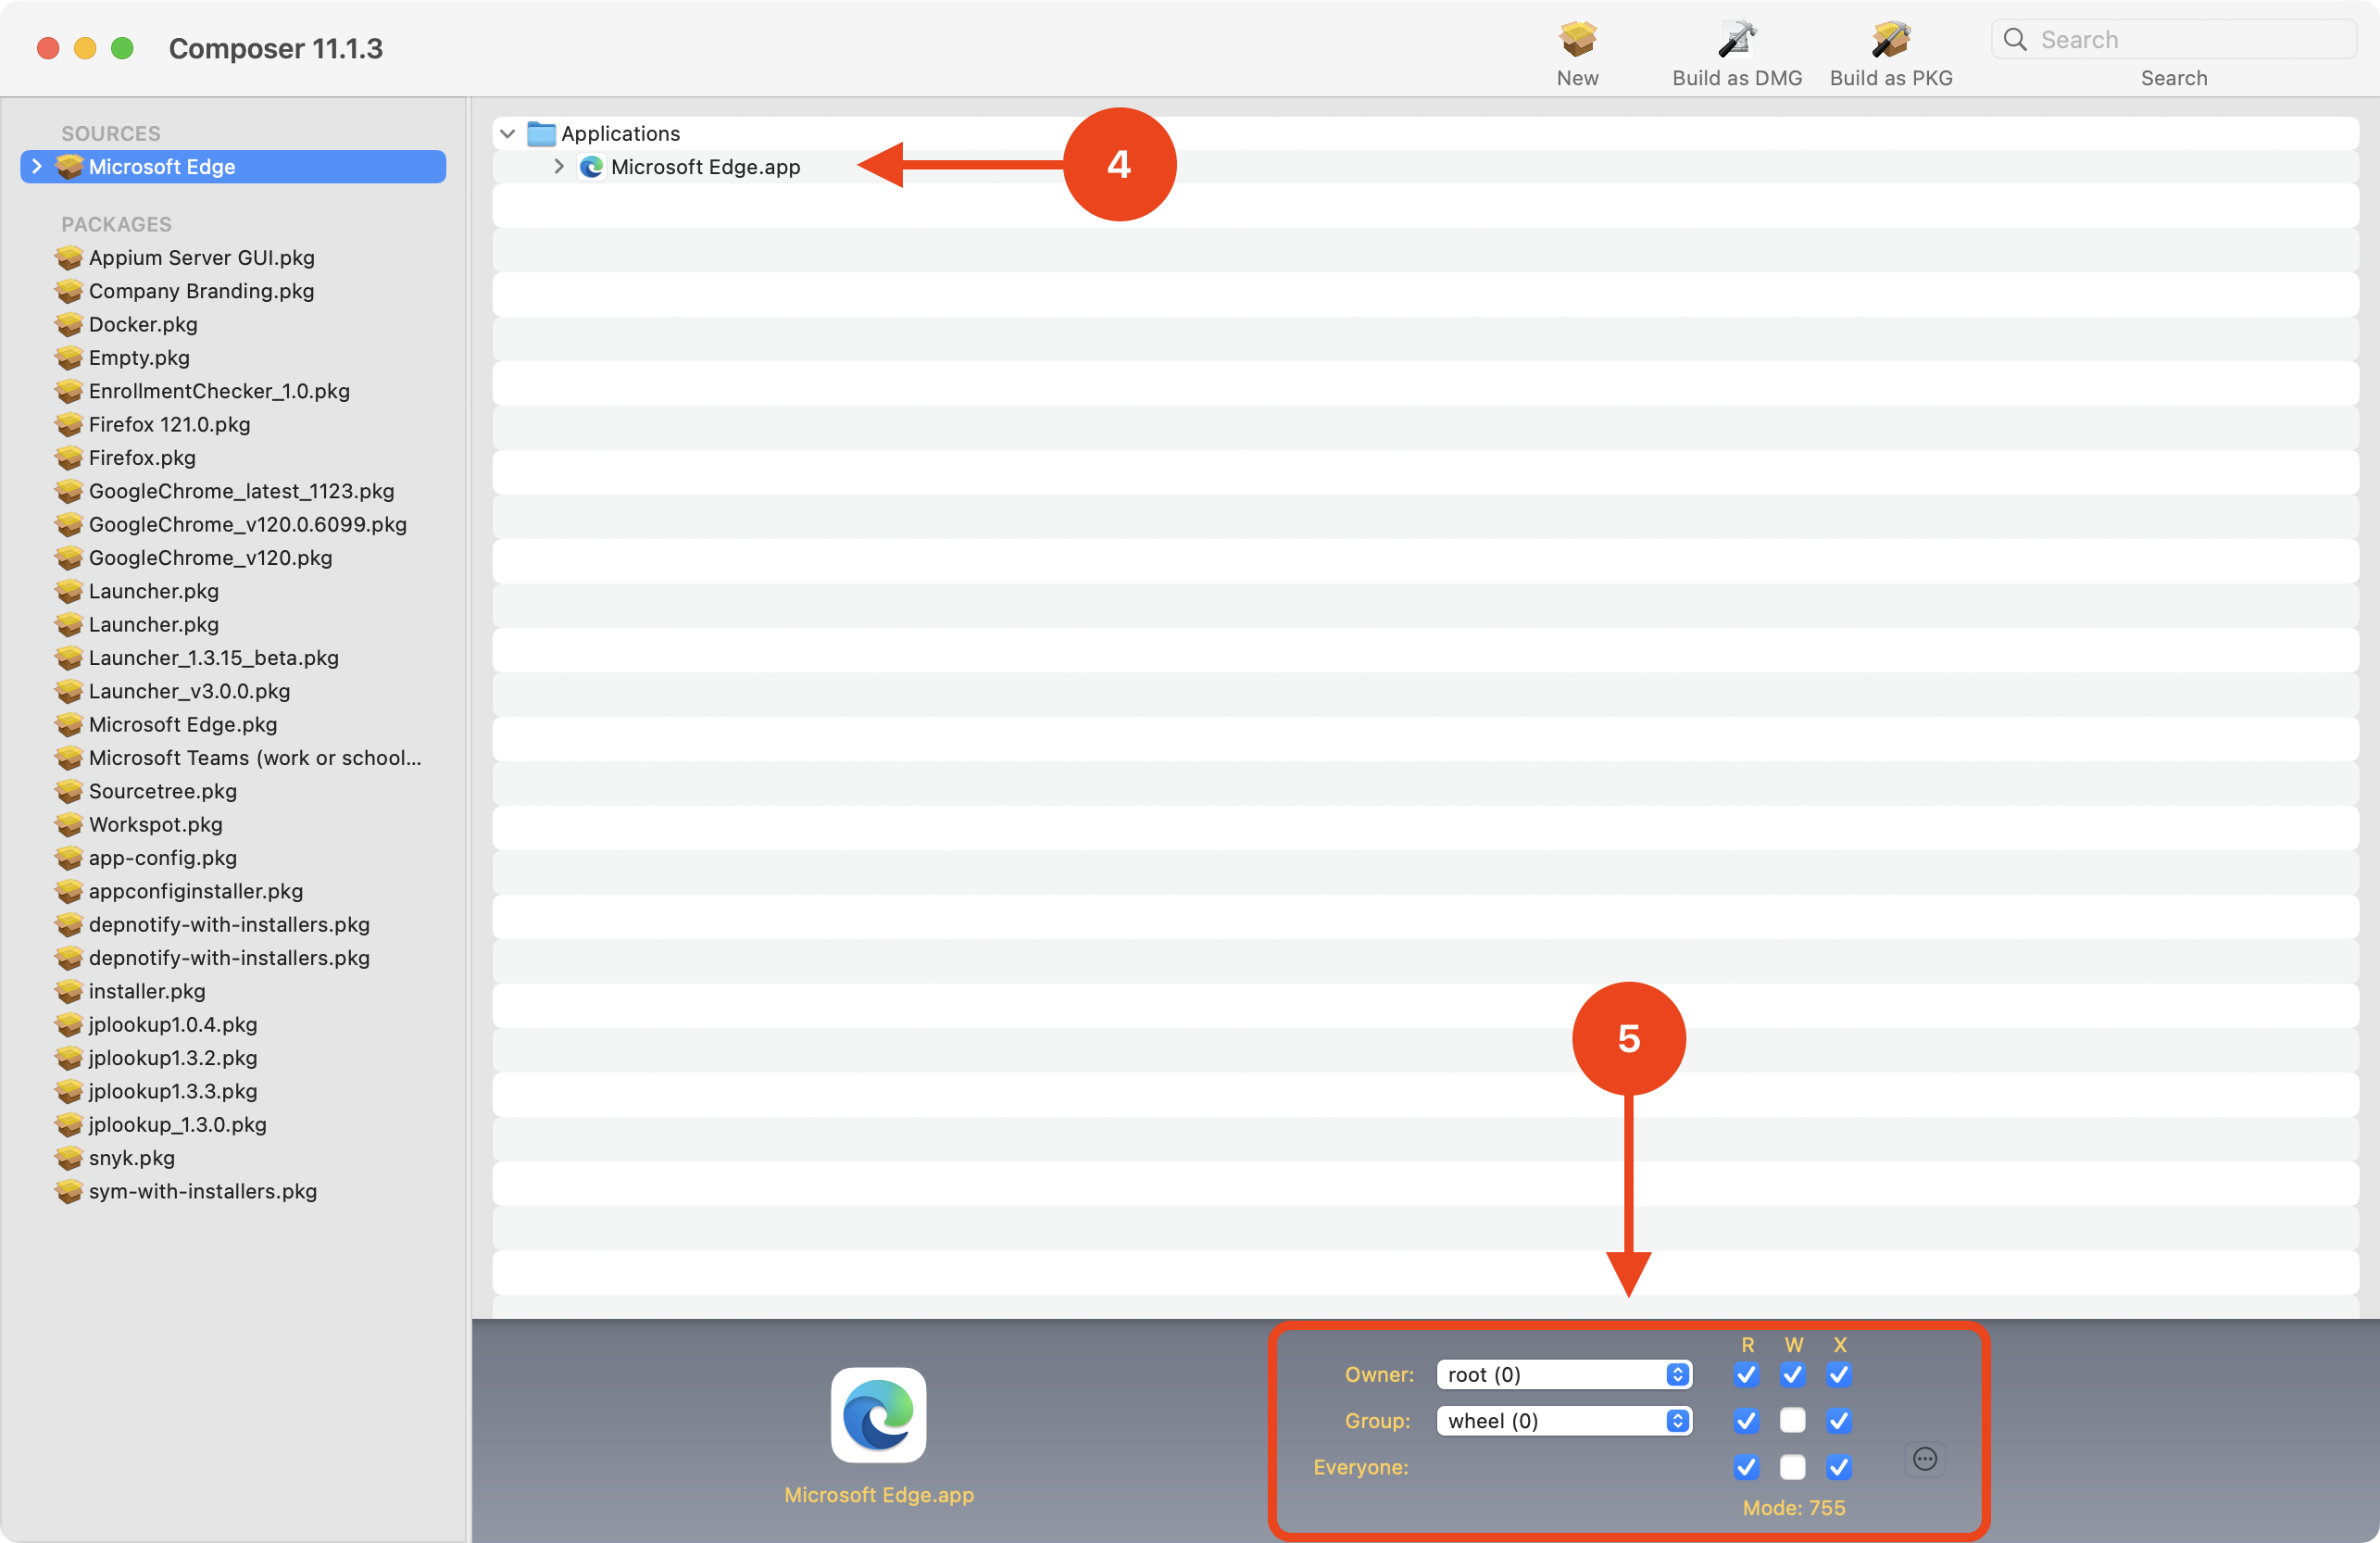 Figure 1.2 - Composer User Interface with Application
- Sources Pane - the package source. Location to drag and drop target application to begin packaging process.
- Packages Pane - list of all previously made packages. Composer keeps a history if the need to re-package an application arises.
- Build - button that will convert target application into a
.pkgfile. - Contents - a collapsable view of what is being packaged. For more complicated builds, LaunchDaemons and LaunchAgents can be added, or other files to include with package. (Figure 1.2)
- Permissions - current file permissions for application that is being packaged. Ellipsis button will allow modifying file permissions of all enclosed items. (Figure 1.2)
Packaging Process
- Begin by installing the target application. For demonstration purposes, Microsoft Edge will be used.
- Once application has completed installation, drag application from
/Applicationsdirectory to Sources Pane in Composer. - Target application will show in Contents section of Composer.
- With the target application selected, ensure Owner is set to
rootand Group is set towheelin the Permissions section. Click the ellipsis button and select Apply Owner and Group to target application and All Enclosed Items.
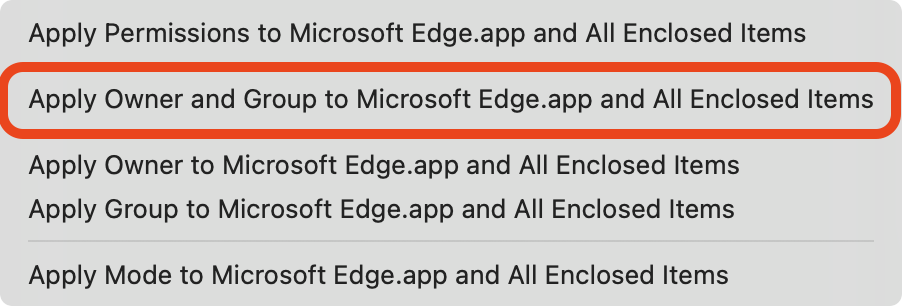 Applying owner and group to target and all enclosed items
- (Optional) Rename the package by right-clicking the name under the Sources Pane.
- Click the Build as PKG button in upper right hand corner of Composer. (See Figure 1.1, item 3)
- A dialog box will appear asking where the
.pkgfile should be saved. Select preferred destination and click Save.
Deploying Package via Jamf Pro
- Upload the
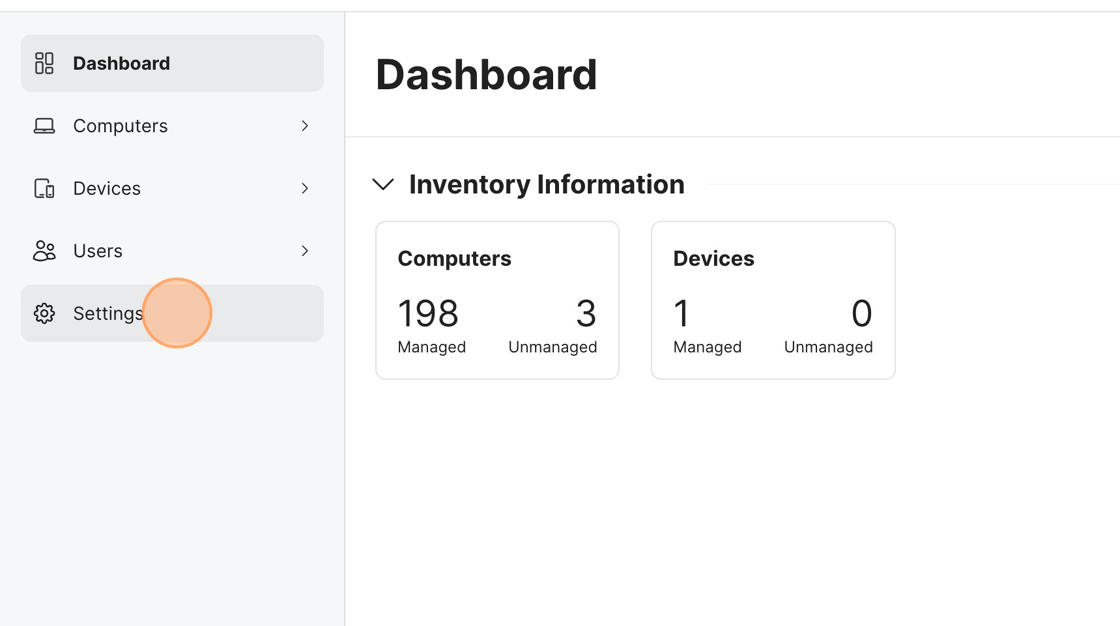
.pkgfile created in previous step to Jamf Pro.- Log into your instance of Jamf Pro.
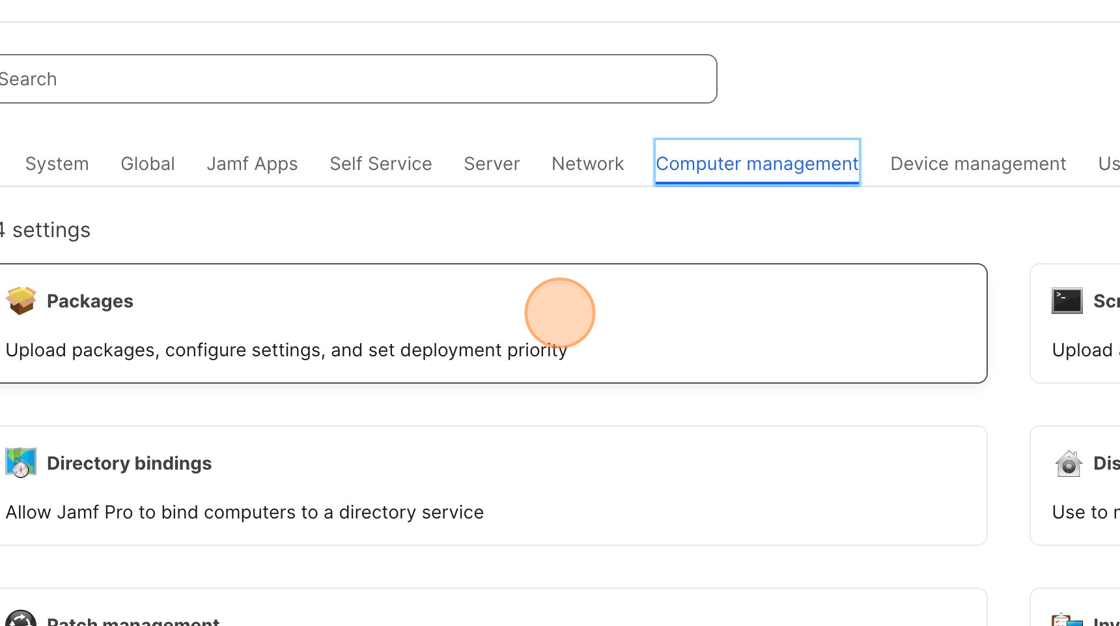
Select Settings in the sidebar on left side.
Navigate to the Computer Management tab and select Packages.
- Click New in upper right hand corner.
Click Choose File option under Filename section, upload package from chosen directory location.
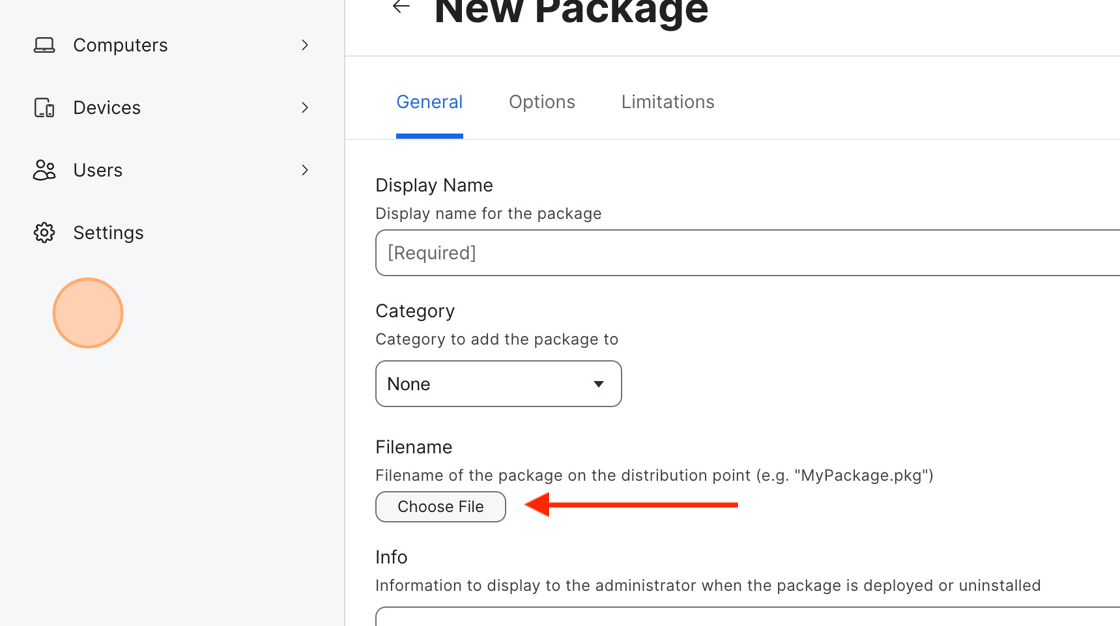
- (Optional) Fill out remaining fields of form including Category, Info & Notes sections
- Create a policy in Jamf Pro that installs the package.
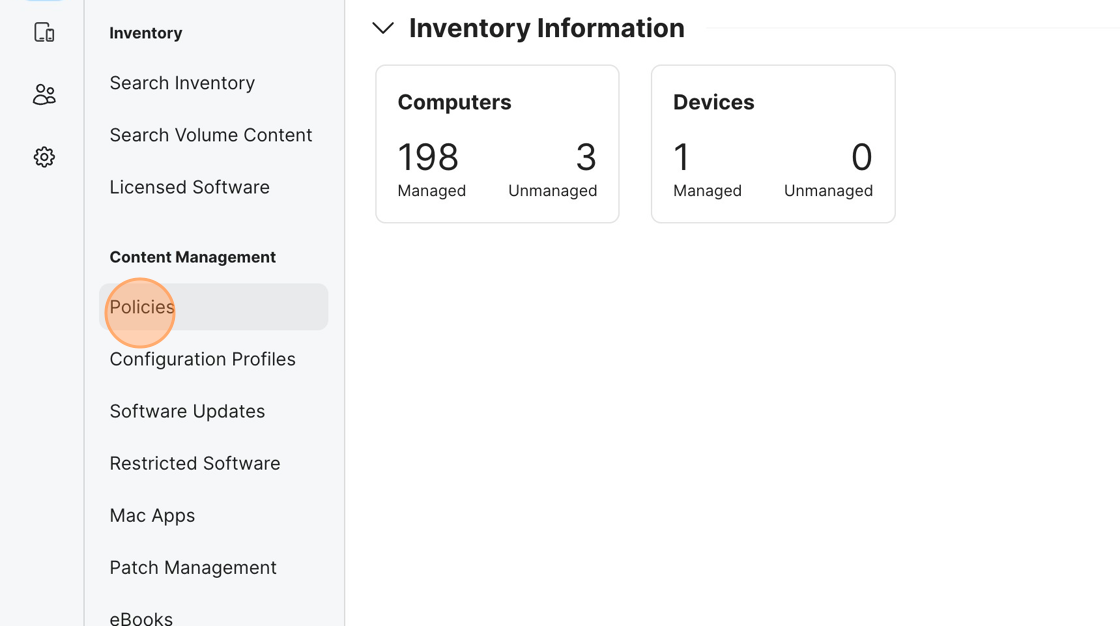
Click Computers in the sidebar on left side, select Policies.
- Click New in upper right hand corner to create a new policy.
- Give the policy a name, in this example we will use
Microsoft Edge. - Select the Category dropdown menu to assign the policy to a category.
- Choose a policy trigger if you want this application to automatically get installed to computers in scope.
- Ensure Execution Frequency is set properly. If application is being added to Self Service, execution frequency should be set to Ongoing.
- Click the Packages payload section and click Configure.
- Find the package that was uploaded in Step 1 from the list of available packages and select Add.
- Configure Scope accordingly (for demonstration, All Computers and All Users was chosen).
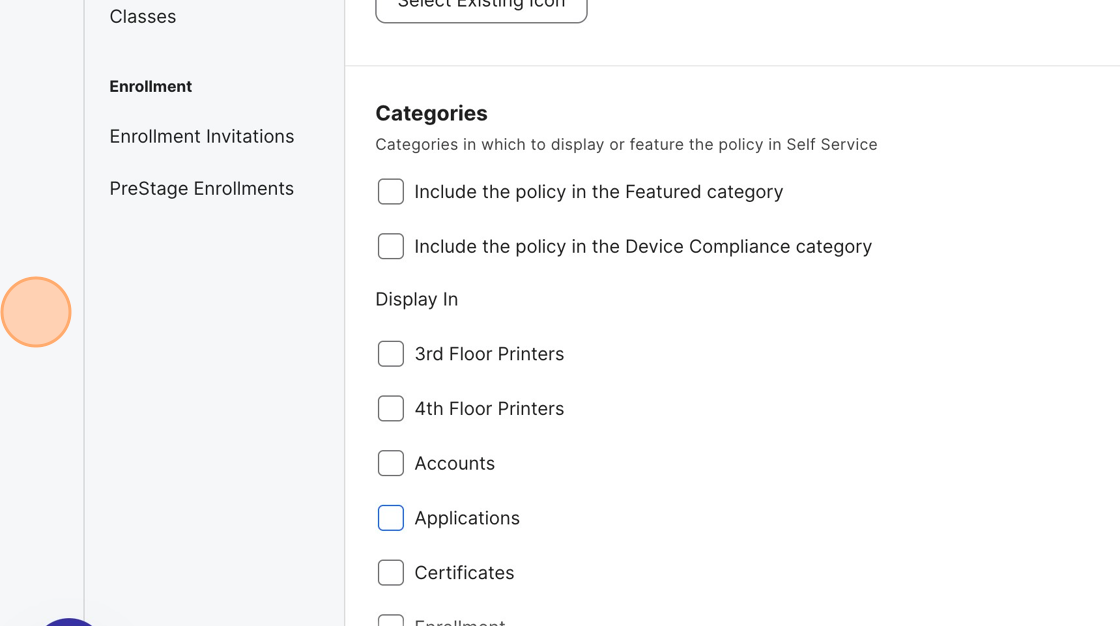
(Optional) If application is being added to Self Service, select Self Service tab and fill out fields accordingly. Do not forget to configure the Categories section at the bottom so application shows under proper category in Self Service.
- Click Save.
- (Optional) Open Self Service application, ensure application shows as expected.